


How long does rotational molding take?
Rotational Molding can take from20 minutes to 6 hours for each cycle. You see longer times when you work with larger parts or more complex shapes. Thicker walls need more time because the mold must heat and cool evenly. Deep recesses or extra holes also increase the cycle time.
Key Takeaways
- Rotational molding cycles can take from 20 minutes to over 6 hours depending on part size, shape, and wall thickness.
- Heating, rotating, and cooling steps need careful control to ensure even coating and avoid defects like warping or bubbles.
- Choosing the right machine, material, and settings helps speed up the process while keeping high-quality results.
Rotational Molding Process Steps and Time Breakdown
Loading the Mold
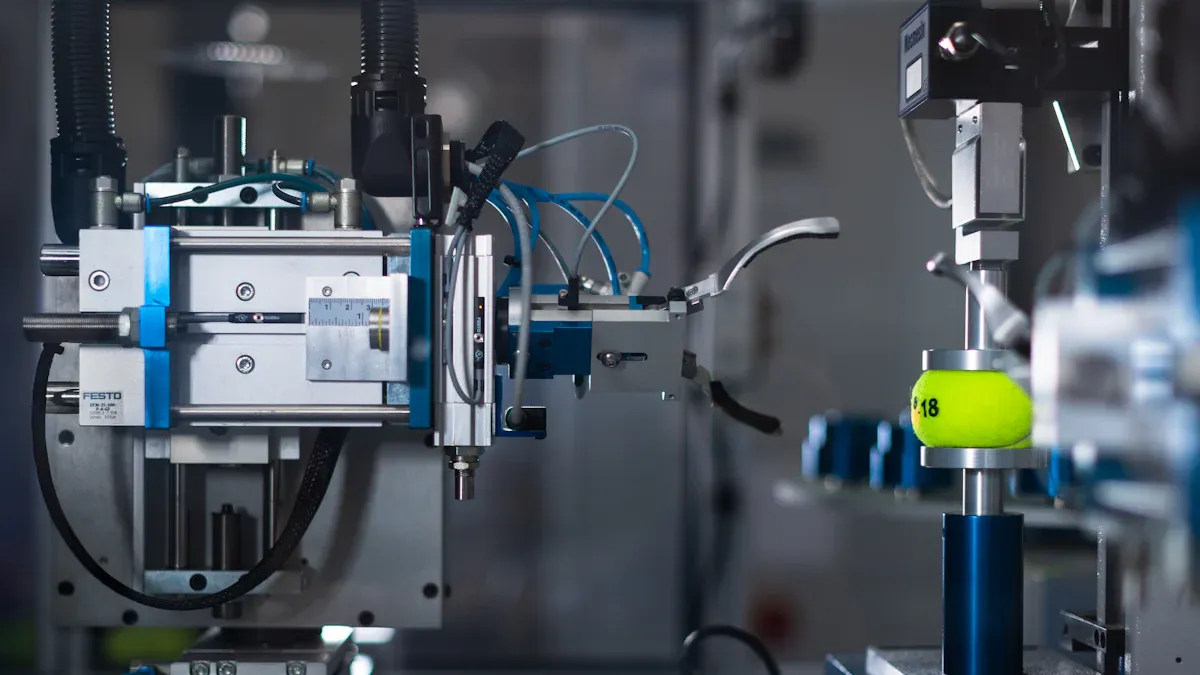
You start the rotational Molding Process by loading powdered plastic resin into the mold. The amount of resin depends on the size and thickness you want for your part. You must make sure the mold is clean and dry before adding the resin. This step usually takes 5 to 15 minutes. If you work with a large or complex mold, you may need more time to check for proper sealing and alignment.
Tip: Always double-check the mold for any leftover material from previous cycles. This helps you avoid defects in your finished product.
Heating and Rotating
Once you load the mold, you close it and move it into the oven. The mold rotates slowly on two axes. This movement spreads the resin evenly across the inside surface. The oven heats the mold to a high temperature, usually between 500°F and 700°F. The plastic melts and sticks to the mold walls. This step can take anywhere from 20 minutes to several hours. Larger molds or thicker parts need more time to heat and coat evenly.
You control the speed of rotation and the oven temperature to get the best results. If you rush this step, you may see thin spots or bubbles in your part. Rotational molding gives you the ability to create hollow parts with even wall thickness.
Cooling the Mold
After the resin melts and coats the mold, you move the mold out of the oven. You cool it down using air, water spray, or a mix of both. Cooling helps the plastic harden and keep its shape. This step can take 10 minutes for small parts or up to 2 hours for large or thick parts. If you cool the mold too quickly, the part may warp or crack. Slow, even cooling gives you the best results.
Note: Cooling time often takes as long as the heating step, especially for thick-walled products.
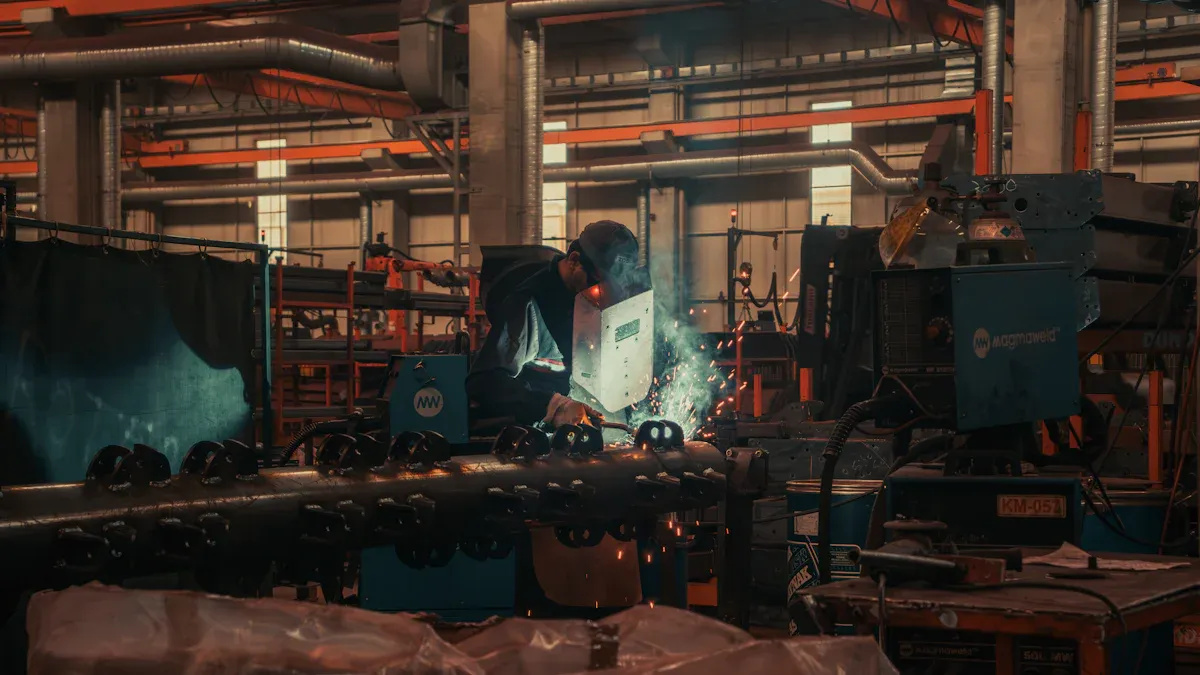
Unloading and Finishing
When the mold and part have cooled, you open the mold and remove the finished product. You may need to use tools to help release the part if it sticks. This step usually takes 5 to 20 minutes. After you remove the part, you trim away any extra material, such as flash or sprue. You may also drill holes or add fittings if needed.
A quick checklist for this step:
- Open the mold carefully
- Remove the part without damage
- Trim and finish as needed
You can now prepare the mold for the next cycle. Rotational molding lets you repeat these steps to make many parts with consistent quality.
Factors Influencing Rotational Molding Time

Part Size and Complexity
You will notice that larger parts take longer to mold. When you make a big tank or a part with deep corners, the mold needs more time to heat and cool. Complex shapes, such as those with many curves or holes, also slow down the process. If your design has thick walls or extra features, you should expect longer cycle times. Simple shapes with thin walls finish much faster.
Material and Wall Thickness
The type of plastic you choose affects how long the process takes. Some plastics melt and cool quickly, while others need more time. If you want a part with thick walls, you must wait longer for the plastic to melt and then cool down. Thin-walled parts use less material and finish sooner. Always match your material choice to your project needs for the best results.
Machine Type and Settings
The machine you use can change how fast you finish each cycle. Here is a table that shows how different machines affect cycle time and production:
| Machine Type | Operation & Design | Impact on Cycle Time & Production | Space Requirement |
|---|---|---|---|
| Carousel | Multi-arm (3-4 arms) rotating bi-axially through loading, heating, cooling, unloading, and reloading stations | Supports higher production rates and potentially shorter cycle times due to continuous multi-mould processing | Requires the most floor space |
| Shuttle | Two carts moving alternately in/out of oven, allowing one cart to heat while the other is unloaded/reloaded | Enables continuous operation but generally lower production capacity and longer cycle times than carousel | Requires less space than carousel |
| Clamshell | Single-arm, runs one part at a time | Longer cycle times due to single-part processing; more efficient than open flame but less productive than multi-arm machines | Requires the least factory space |
| Open Flame | Uses open flame heating, no oven | Longest cycle times, more affected by ambient temperature; used when oven cycles are not feasible | N/A |
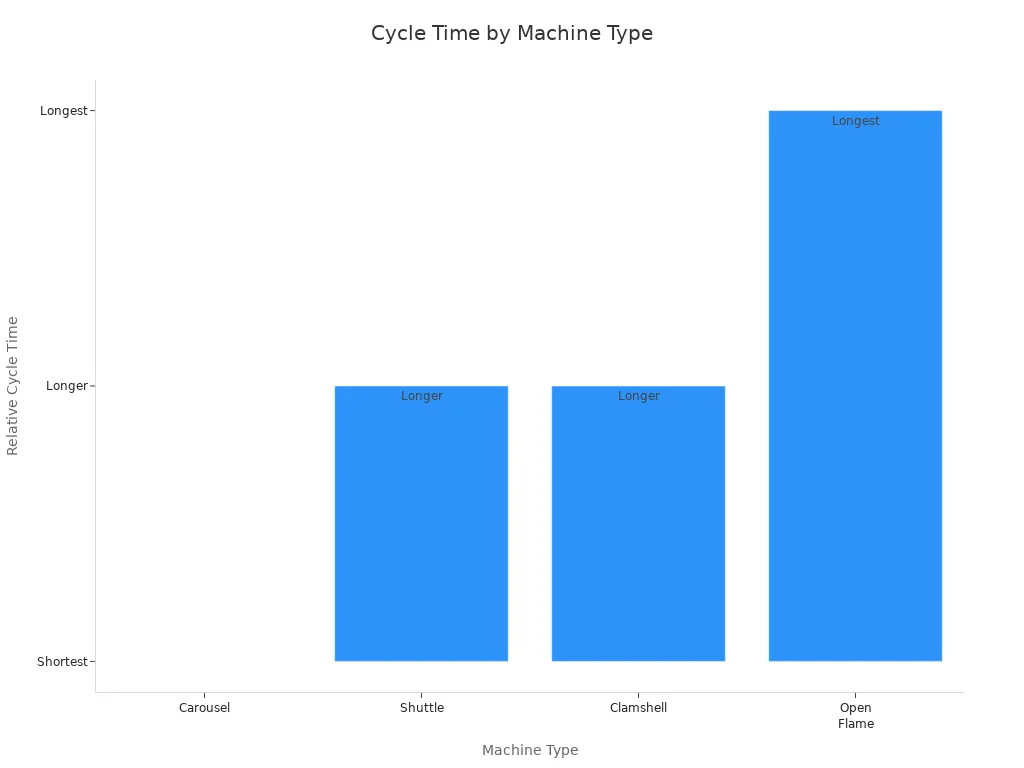
You can also adjust machine settings to change the cycle time. If you increase the oven temperature or rotation speed, you may finish faster. Cooling time and total cycle time also depend on these settings. Careful control helps you get the best quality and speed.
Comparison to Other Molding Methods
You may wonder how rotational molding compares to other methods. Injection molding works much faster for small parts. It uses quick injection and cooling, so you get more parts in less time. Blow molding also has short cycle times, usually between 5 and 20 minutes. Here is a quick comparison:
| Aspect | Blow Molding | Rotational Molding |
|---|---|---|
| Cycle Time | Short cycle times (5 to 20 minutes) | Higher cycle times (longer duration) |
| Output | Higher output per tool cavity | Lower output per tool cavity |
| Suitability | Ideal for simple, high-volume parts | Design flexibility but slower process |
Rotational molding gives you more design options and lower tooling costs, but you will wait longer for each part. If you need speed, injection or blow molding may work better for simple shapes.
You can expect rotational molding to take anywhere from 20 minutes to over 6 hours.
- Manufacturers use automation, better materials, and process monitoring to improve efficiency.
- Future trends like AI and smart tracking will help reduce cycle times.
Remember, understanding each step helps you set realistic expectations for your project.
FAQ
How can you speed up rotational molding cycles?
You can use higher oven temperatures, faster rotation speeds, and efficient cooling methods. Choose the right machine and material for your part to save time.
Tip: Regular mold maintenance helps you avoid delays and defects.
What is the best way to reduce cooling time?
You can use forced air or water spray to cool the mold faster. Make sure you cool evenly to prevent warping or cracks in your finished part.
Does rotational molding work for small parts?
Yes, you can use rotational molding for small parts. You may see shorter cycle times and lower costs. Injection molding works faster for high-volume small items.